I had this Cigar box for a number of years and was recently going to pass it along to the thrift store but decided I'd give it a face lift instead. I think I'll hang onto it for a little while longer. Here is basic directions on how I did it if you want to try something similar.
You will need
- A wooden box
- Thick cardboard
- Sandpaper
- Paint (3 colors)
- Paintbrush
- Scissors
- Glue
- Decorative paper
Start by cleaning the box and sanding the entire surface. My box had a metal plate on the lid, which I removed. The plate popped off easily but I did have to scrape the top of the box with a knife where there was a thick layer of dried glue.
Cut your cardboard into whatever shape you like. I printed gear clip art off the web to use as a template. Glue them on using a strong glue. I used Tacky Glue because it's what I had handy, a wood glue would probably work well too though.
Paint the gears. I chose a metallic brown, but you can paint them whatever color you'd like. Just keep in mind that you will be painting over this and the color will only show through in the end.
Once your cut outs are dry, paint the entire box with your main color. As you can see, mine is an off white. Paint right over your pretty cut outs. Just be cautious that you don't paint the box closed, or perhaps paint with the box open.
Let dry and apply a second coat.
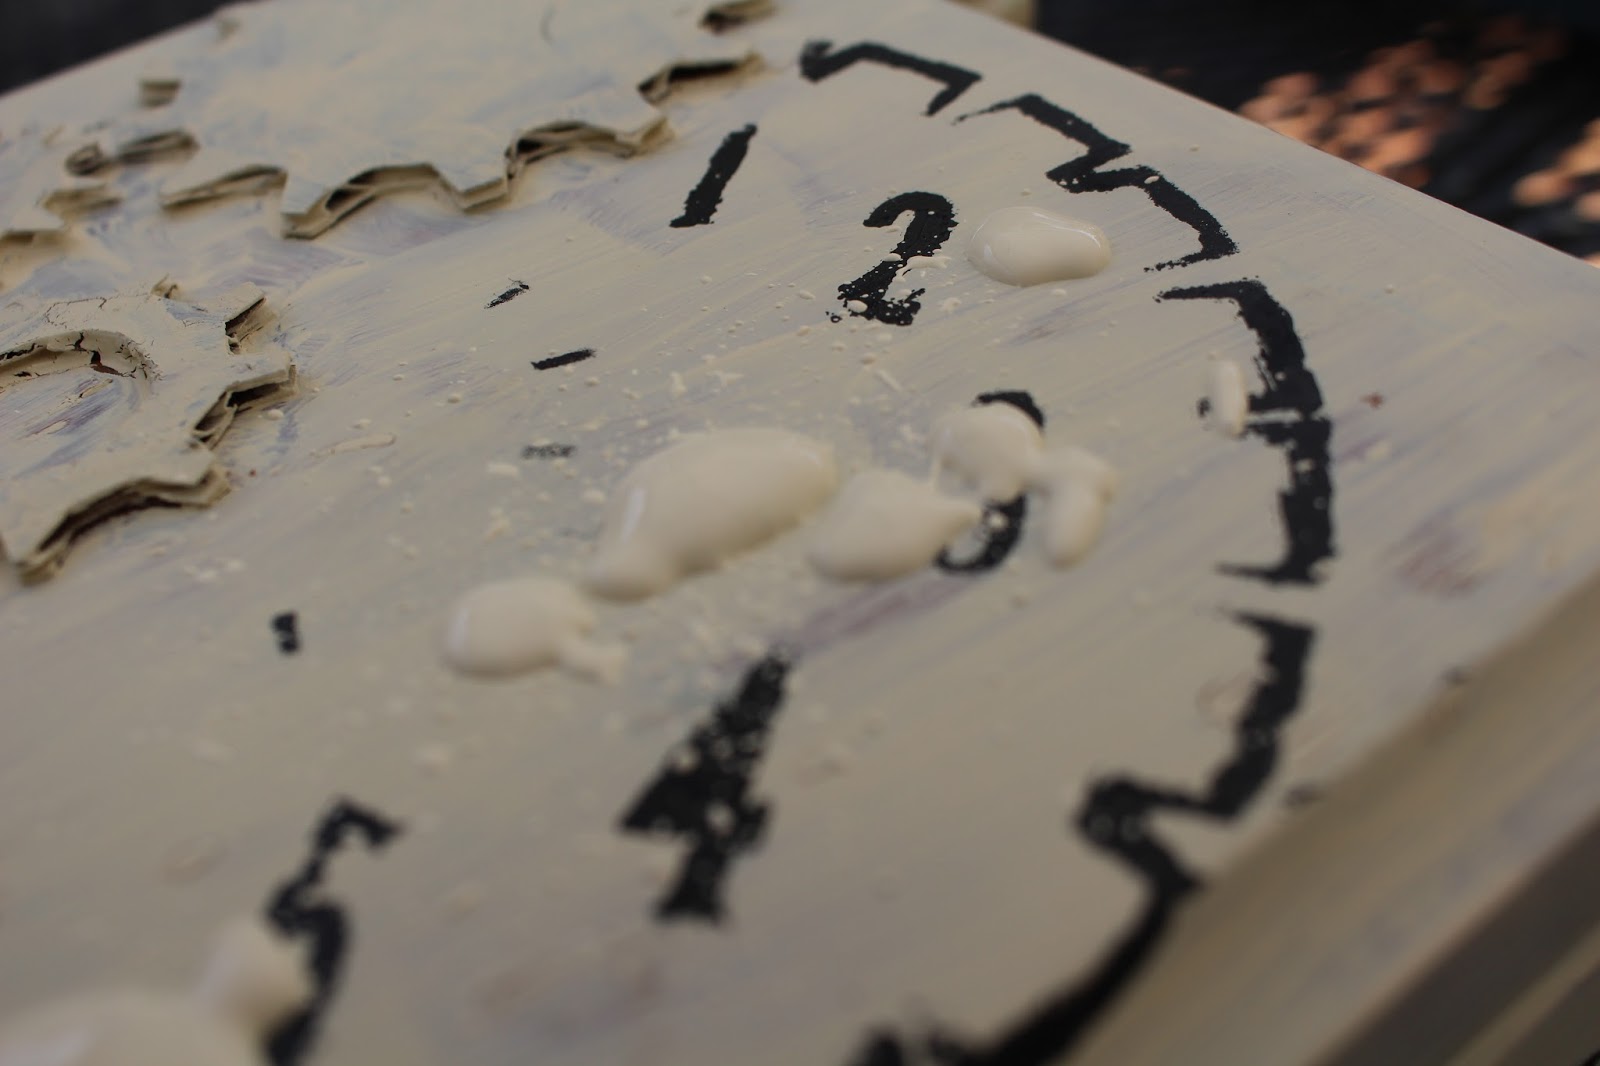
With your third color ( mine was black) add design. You can use stencils (as I did) with a foam paint brush, stamps, or you could free hand it. The color should be much darker than the main color.
Once the black is completely dry, paint over the entire surface with your final coat of your main color. Go lightly over the black design as you want it to show through.
Let the paint dry entirely. With a small piece of sandpaper, sand over the gears very gently. You want to sand it enough that the metallic paint shows through, but not so much that you start to see cardboard.
Now can move to the inside of your box.
You could choose to leave it plain if you'd like. If not: read on.
Decide what you would like to cover the inside with. I had a lot of papers to choose from. I almost went with pages from an old music book (I love music!) but in the end I decided upon pages from an old Tabacco ledger that my mom had found in an antique store. I though it was appropriate for a cigar box.
Measure all the places that need covering and cut the paper likewise. Paste the pages in place. Elmer's Glue seemed plenty strong for this.
And that's it. If there is anything else you'd like to add, you should certainly do so. Make your box uniquely fabulous.